In the last couple of years, video has quickly risen to the top of the most widely used content types for various purposes. Consequently, the platforms that allow users to upload and share their video content are hugely popular. Just YouTube itself has 1.3 billion users, with more than 300 hours of videos uploaded every minute.
Shooting a professional looking video for a google hangout presentation, marketing campaigns, Skype videos or YouTube may seem complicated at first glance, but with all the technology advancements and guides available, it can become a manageable and enjoyable project.
Let’s go through the essentials that you will need if you decide to set up a small studio for filming those professional videos.
Location
Let’s start with the location. You can set up your studio in one of the rooms of your house or any free office space at your workplace. These types of DIY studios are very cheap to set up and, if done properly, you can shoot some quality videos.
You will need a room that is neither too small nor too large, and you’ll need to decide where your camera will be stationed. Knowing your dead zone and on-air zone will help you properly arrange the furniture in your room. Make sure to keep the floor in your on-air zone clean, and bear in mind that if you empty the room, you will have problems with sound diffusion.
To prevent this, throw in some pillows and place rugs. You can also leave any fluffy furniture like a couch or chair. Cushy objects are great for stopping the echo in the room you are shooting in. In order to avoid glares, go with furniture that doesn’t have a reflective surface. For instance, simple wooden chairs are a much better choice than chrome ones.
Equipment

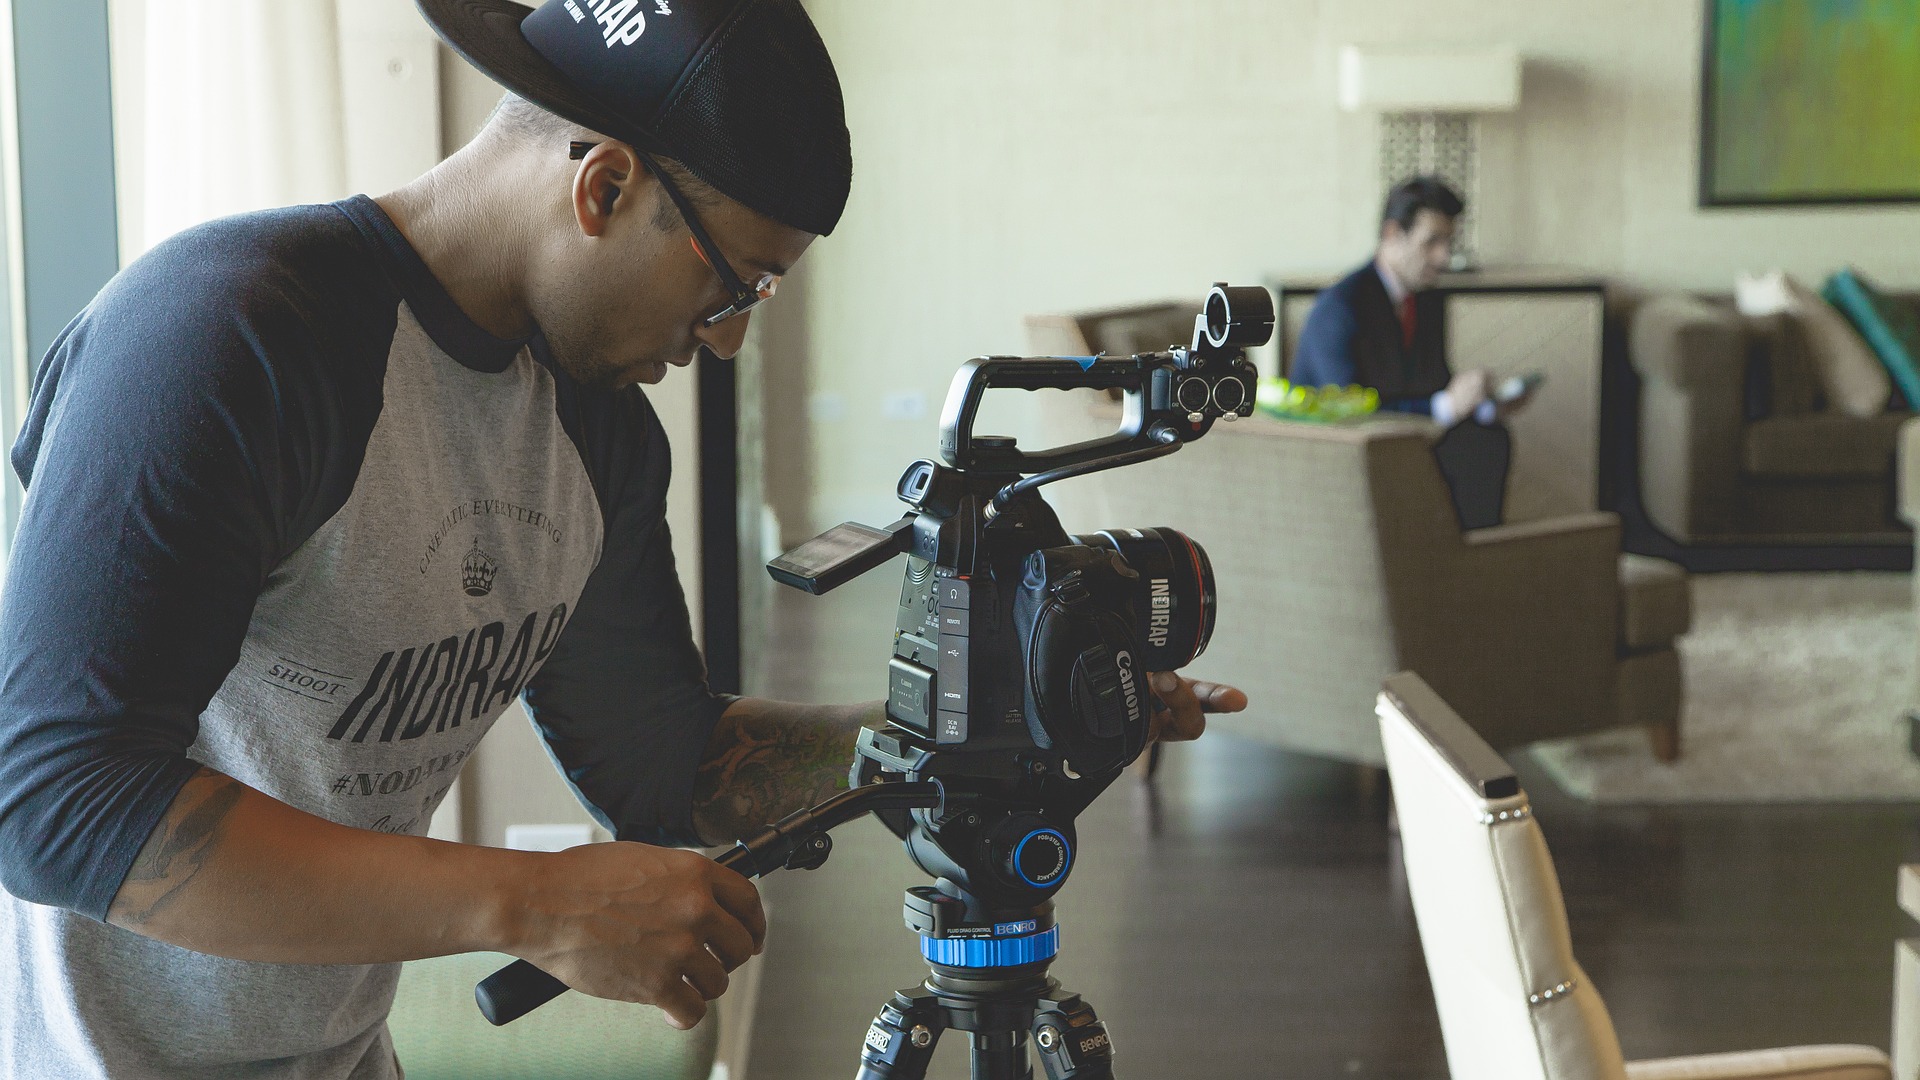
For starters, you will need a video capturing device, green screen and tripod. Some people like using traditional video cameras for this purpose, while other stick with classy DSLRs. Picking a professional digital camera might be a better option, since you can also use it to shoot professional photos. It is very important to make all the necessary adjustments to your room before choosing the shooting device. Even consider changing the room if necessary.
For instance, Nikon D3300 is rated as one among best entry-level DSLRs. It is both affordable and highly functional. It has a 24.2MP sensor capable of recording very sharp 1080p videos and shooting images with great sharpness.
The tripod is also a standard part of your future studio setup. There are certain factors to consider when buying one: height, load and stability, head attachment and leg locking. The one that caught my eye is the Pedco UltraPod II. It’s very stable and its load capacity is 6 pounds, which is more than enough to support any of the entry-levels DSLRs.
Lighting

If you plan on shooting during the day and you don’t want to invest in lighting right at the start, try to pick a room that has windows (keep them open during shooting sessions for the best results). In case you want to step up your game, you will need some extra lighting kits.
Continuous lighting kits are the best choice should you decide to shoot product or still life videos. It is easily adjustable, letting you manipulate the light manually. And it is the cheapest lighting solution, making it perfect for an entry level studio.
Voice Recording
For starters, you will only need 1 microphone and microphone stand. A condenser mic is a great option, since it allows you to choose which direction you want to record sound from. They come in two variations: USB Condenser Mics and XLR Condenser Mics. The latter require an audio interface that connects with your computer.
A great choice is the AKG Perception 420 Professional XLR Condenser Microphone. It perfectly reduces low-level unwanted frequencies and captures rich high-level ones. Multiple polarity patterns are a good choice if you have a guest in your videos who you want to interview or have a chat with.
As you can see, when you know your how-to , it gets much easier to handle any project on your own, so remember to gather as much information as you can. Your research should be guided by these questions: what is the purpose of the video you want to shoot and what do you want to achieve with it? Keep experimenting and try to have fun with your projects.


4 Comments
birdiegolf430 · January 25, 2017 at 10:49 am
Incredible information you have shared Lawrence. I appreciate the actual specifics of the information & specific suggestions of equipment in your honest information. Too many times articles/posts have left the readers “guessing” which actually lowers their credibility.
Thank you for this post & again sharing your knowledge, experience & heart!
Lawrence Tam · February 17, 2017 at 9:40 am
Thanks for that!
Our guest author Isabella Foreman did a great job.
Reach out to her on Facebook https://www.facebook.com/profile.php?id=100014306737750 and let her know to contribute more to our blog 😉
Erlinda Shen · January 13, 2017 at 10:03 am
I have seen a few articles like this. These tips are generally for marketers who shoot videos that feature themselves as expert speakers.
I, on the other hand, would love to see an article about creating and editing video on the go. I have subjects that love to run around, plus I do a lot of shooting outside, or in informal situations. That can be tricky, especially editing.
Good article.
Lawrence Tam · February 17, 2017 at 9:41 am
Awesome point of view….
Maybe contacting Isabella Foreman on Facebook and asking her to contribute a part 2 for this topic?
https://www.facebook.com/profile.php?id=100014306737750